Need help? Call us:
0402 716 774
Menu
Categories
- Activities & Kits
- Art Supplies
- Craft Supplies
- Craft Essentials
- Beads & Bells
- Buttons & Charms
- Clasps & Hooks
- Clay & Modelling
- Cord & Wire
- Craft Pegs & Sticks
- Elastic & Velcro
- Feathers & Googly Eyes
- Glitter & Glitter Glue
- Jewels & Gems
- Letters & Numbers
- Natural Craft
- Pipe Cleaners & Pom Poms
- Ribbons & Bows
- Sequins & Mosaic
- Snaps & Closures
- Stencils & Stamps
- Zippers & Zipper Pulls
- Drawing
- Stickers
- Craft Essentials
- Knitting & Crochet
- Occasion & Themes
- Paper & Card
- Tools & Storage
- Toys & Party
- Uncategorized
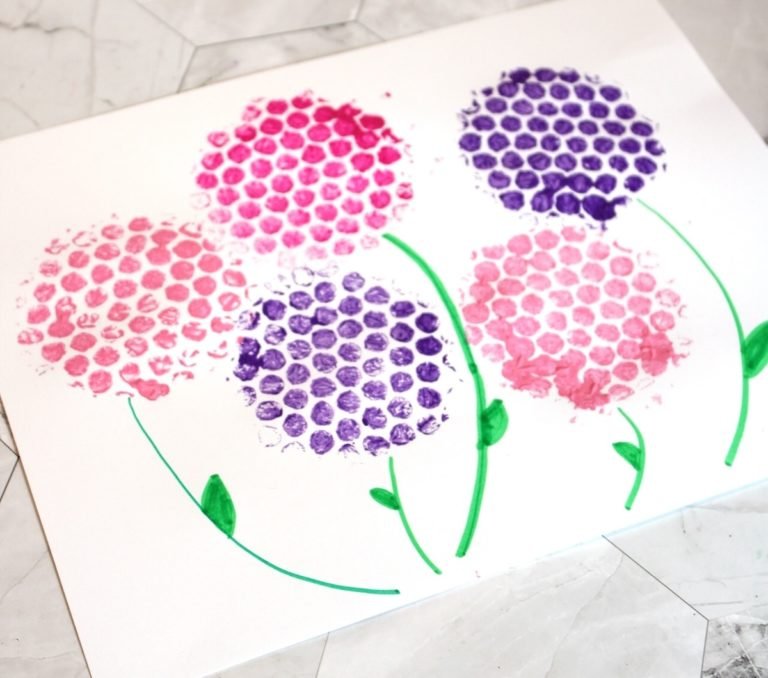
Bubble Wrap Painting
What You’ll Need:
- Bubble wrap
- Paper
- Kid-friendly paint
- Scissors
- Colored markers
- Foam brush
- Shape-making items (like cups or cookie cutters)

Step 1: Choose Your Bubble Wrap
You can find everything you need at the dollar store, including bubble wrap! Or, you might have some handy in your recycling bin. Larger bubbles create bolder, more textured patterns, while smaller bubbles offer finer details. Try both to discover which effect you prefer.
Step 2: Draw a Shape on the Bubble Wrap
Pick a household object, like a lid or cookie cutter, and trace its shape onto the bubble wrap.
Step 3: Cut Out Your Shapes
Using scissors, carefully cut out the shapes you’ve traced.


")
")
Step 4: Apply Paint
Using a foam brush, roller, or sponge, evenly spread paint over the bubble wrap. Avoid applying too much paint, as it can smudge, while too little might not transfer well.
Pro Tip: If younger kids are joining in, secure the bubble wrap to your workspace with painter’s tape to prevent it from moving around while they paint.
Step 5: Stamp Your Design
Gently press the painted side of the bubble wrap onto the paper. There’s no need to press too hard—this can cause a paint blob. Press lightly and ensure each part of the bubble wrap makes contact.
Step 6: Get Creative with Colors
Experiment with multiple colors on the same piece of bubble wrap to create gradients and patterns. You can apply colors in stripes, dots, or swirls for different effects.
Step 7: Add Details with Markers
Use markers to enhance your prints! For example, you can transform your stamped shapes into flowers by drawing green stems or try fun ideas like watermelons or honeycomb patterns.
Bubble wrap prints also make great backgrounds for other art projects. You can layer drawings, stencils, or even more paint on top to create a beautiful mixed media masterpiece.
Enjoyed this craft? Let me know in the comments!